Cutting and Installation of Pergola Braces
The braces for this pergola are simple double 2x6 pieces, glued and nailed together. Depending on the pergola design you’re installing, there may be multiple brace lengths to cut. We also include curves to cut in the braces, which greatly enhance their look. Cutting these is optional, but the pergola won’t look as elegant without them.
Jump to:
Cut the Braces
Mark a 45-degree cut at the end of one of the 2x6 boards, and another one at the distance specified on the drawings.

Make both cuts with the circular saw.
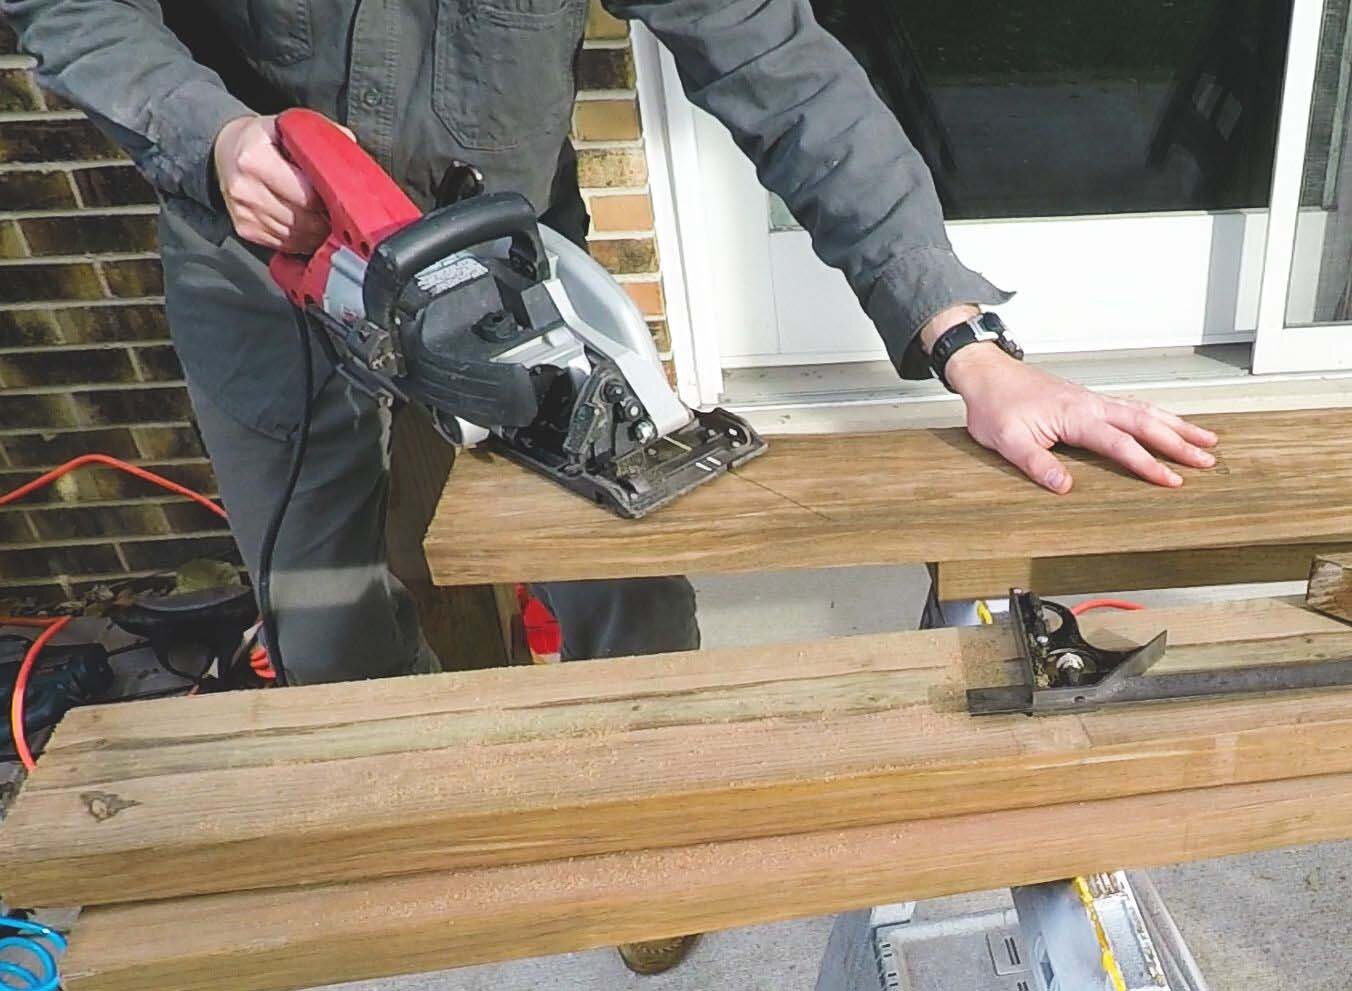
Then take the cut-off piece, lay it against the first board, and use it to trace the final 45-degree cut. Make this cut as well.
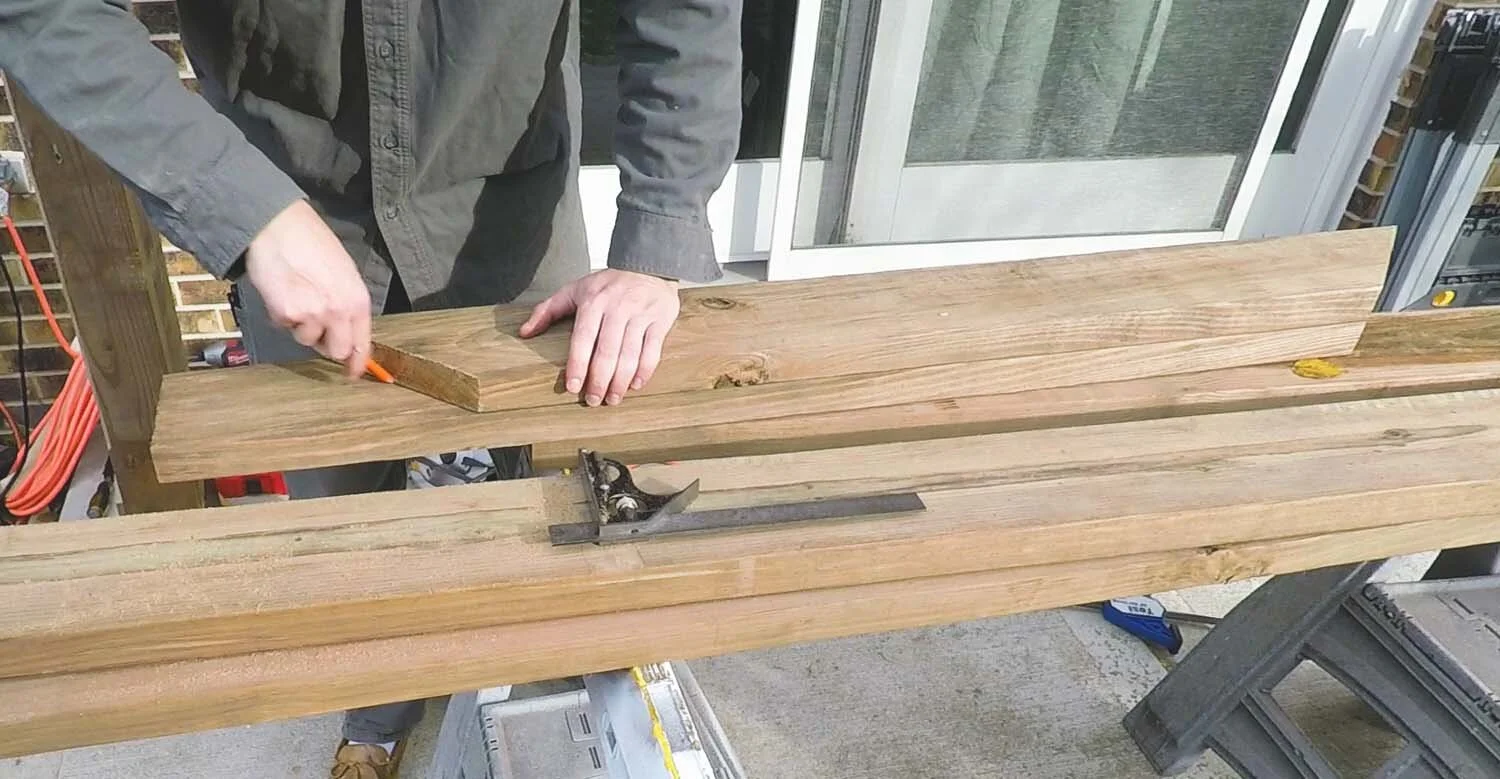
At this point, it is a good idea to mark and cut the curves in the braces if all you have is a jigsaw to make the cuts with. For a simpla curve, you can use a flexible ruler to mark the curve, and cut it out on one of the pieces. Use this piece to mark its mate, and also cut that one out.
If you’re looking for a more fancy brace design, we have a series of knee brace templates available for purchase. Using these can greatly enhance the look of your pergola and complement the design of your house. The video below demonstrates their use.
Squeeze out the exterior-rated glue specified in the design drawing on one of the pieces and clamp the other piece to it.

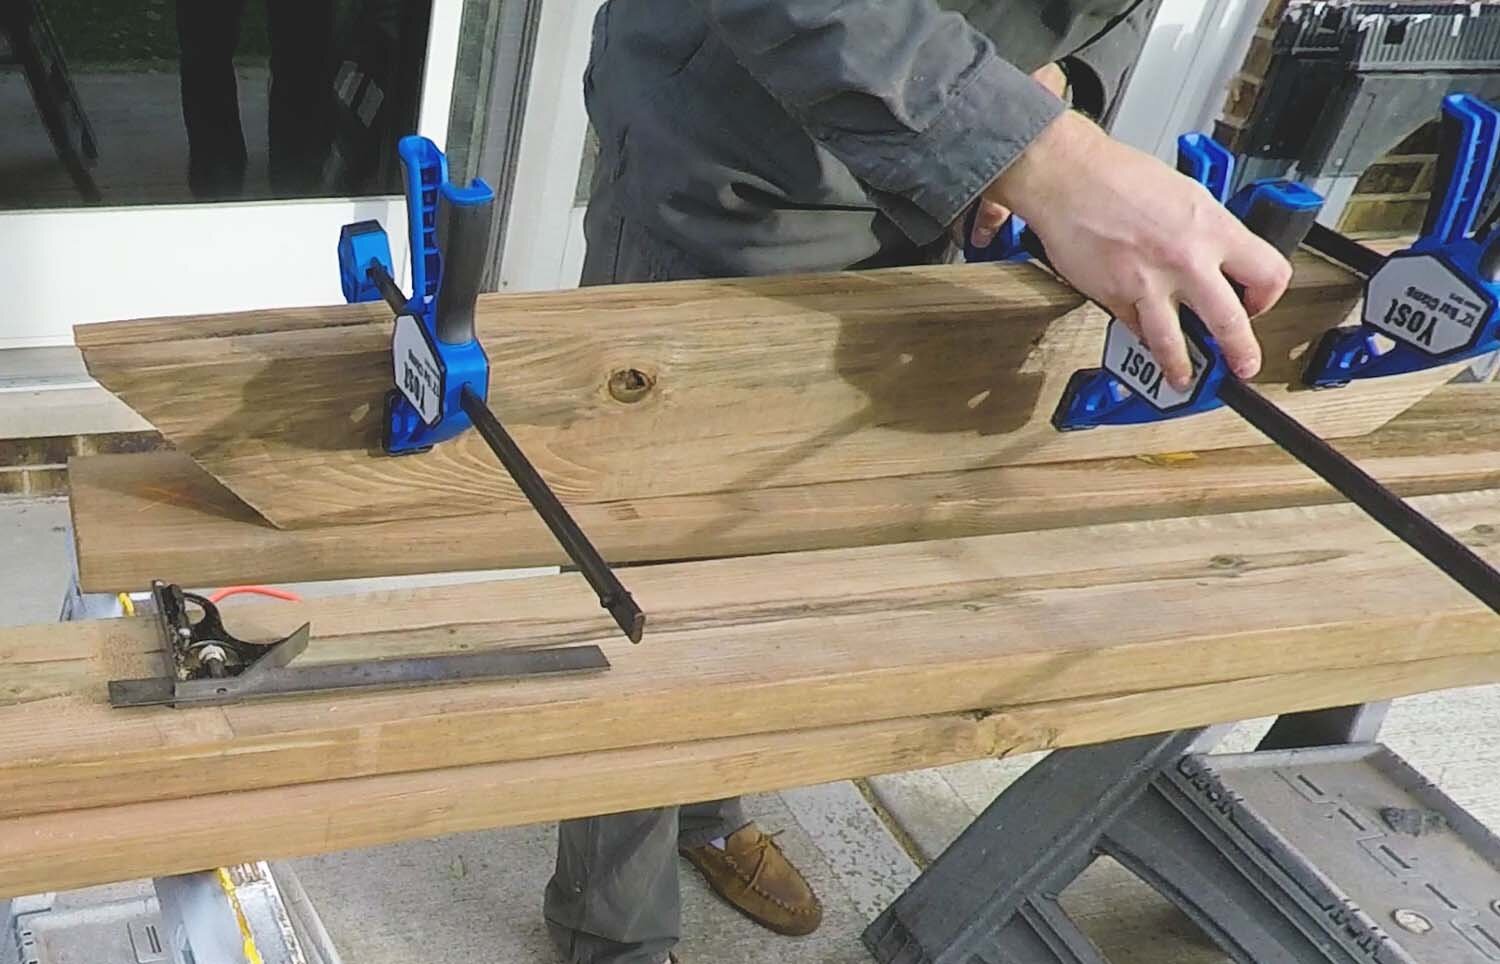
Nail the two boards together in a zig-zag pattern, with nails spaced about 6″ apart. Use about ten (10) nails per brace. Be sure not to put nails along the cut line for the curve, if you haven’t cut it out already.

If you have a bandsaw, it will be cleaner to cut the curve in the brace once it’s glued together. Regardless of when you cut the curve, it may be a good idea to smooth the curve with a belt sander. Then use a 1/8″ radius roundover bit in a palm router to ease the cut edge.
Repeat for all braces.
Install the Braces
Clamp the brace to the beam at the top end. Our plans include the dimension from the top face of the brace to the bottom of the beam to which it attaches, so mark this on the brace for reference when attaching it to the pergola.

Once satisfied with the location, pre-drill the holes at each end of the brace, and drive in the fasteners specified to attach the brace to the post and the beam.
Repeat until all braces are installed.
Previous Step: Cutting and Installation of Main and Secondary Beams
Next Step: Cutting and Installation of Rafters
Instructions provided by Apex Pergola Design are solely for informational purposes and are provided without warranties or guarantees of any kind. Builder/Installer is solely responsible for construction of the pergola and shall be responsible for identifying, reviewing, and complying with the applicable building codes in effect at the time of pergola construction and ensuring the pergola construction complies with such building codes and requirements.. Apex Pergola shall not be liable for any claim, loss or damage arising out of: (a) any misuse or unauthorized usage of the Plans provided; (b) any constructions, structures or designs made by the Client or a third party on the basis and in reliance on the Plans or (c) any other circumstances beyond Apex Pergola’s reasonable control.